How to Create Instagram Posts via Content Creator and Schedule Them via Desktop

Are you interested in creating Instagram posts by using Creator Studio? And, did you know that you can also schedule your Instagram content using Creator Studio directly from your Desktop and not from your mobile phone?
If this is something you want to learn more about, keep on reading because it will save you tons of time as you’ll learn how to create and schedule Instagram posts via Creator Studio on your desktop.
How to Access Creator Studio for Instagram?
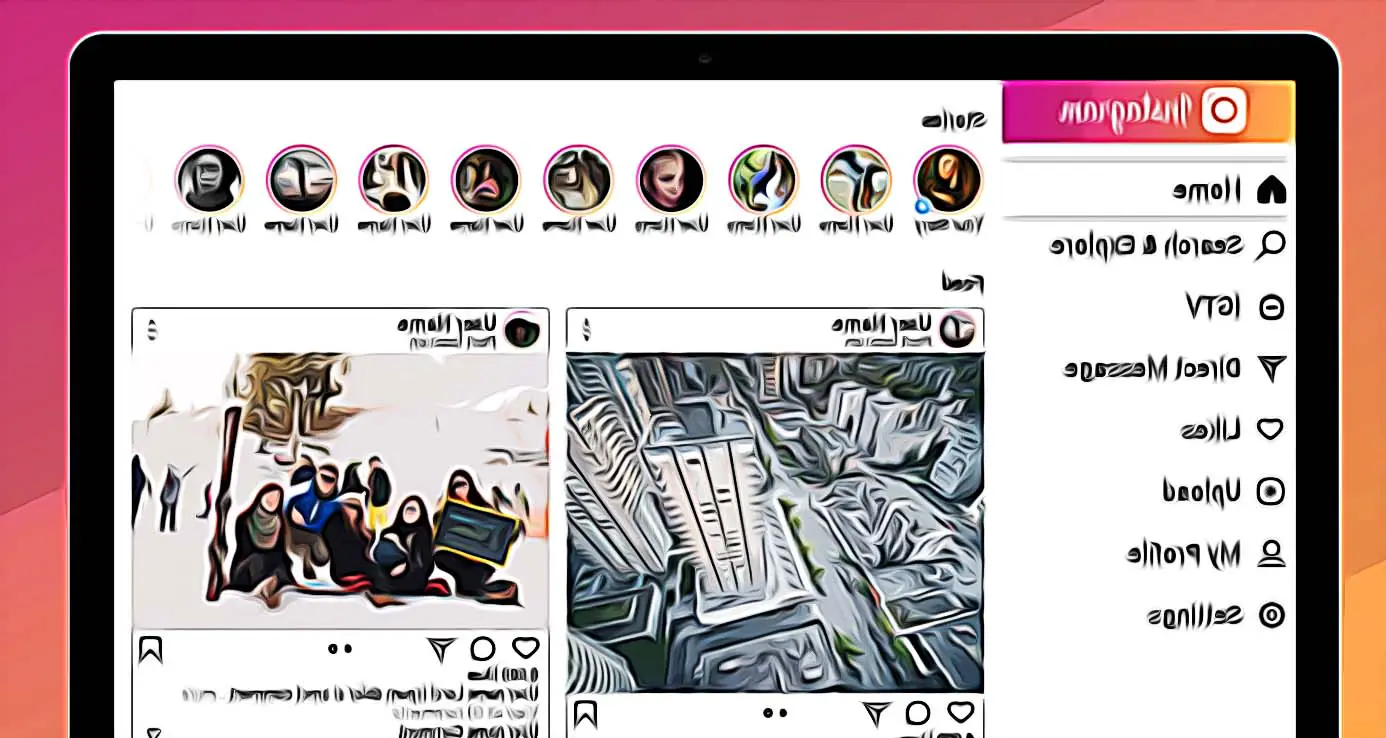
Since your Instagram is linked to your Facebook profile, you can get into Facebook Creator Studio which offers the option to post and schedule both on Instagram feed posts as well as IGTV videos.

In fact, you will be automatically logged into the profiles and pages you’re connected to with your Facebook account.
Once your Instagram account is connected, you'll see Facebook and Instagram icons located at the top of the browser window. On the contrary, if your Instagram is not connected yet, you need to choose the option to connect to it.
Next, click on the Instagram icon which is at the top of the page. You’ll be able to see your Instagram profile content as well as insights and if you have the option to post via Creator Studio, the Create Post button in the top-left corner will have blue color.
When you click on Create Post, two options will pop up, such as Instagram Feed or IGTV. Choose what you want and proceed with the prompts to upload your post.
Creator Studio will allow you to create Instagram feed posts and IGTV stories but there is still no option for Stories.
How to create Instagram posts via Creator Studio?
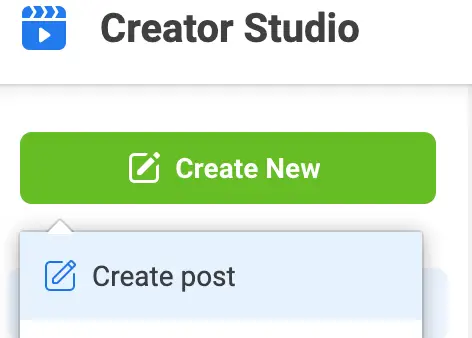
If you want to use the desktop version for this and post to the Instagram feed from Creator Studio, you need to click on the Create a Post button and choose the option Instagram Feed.
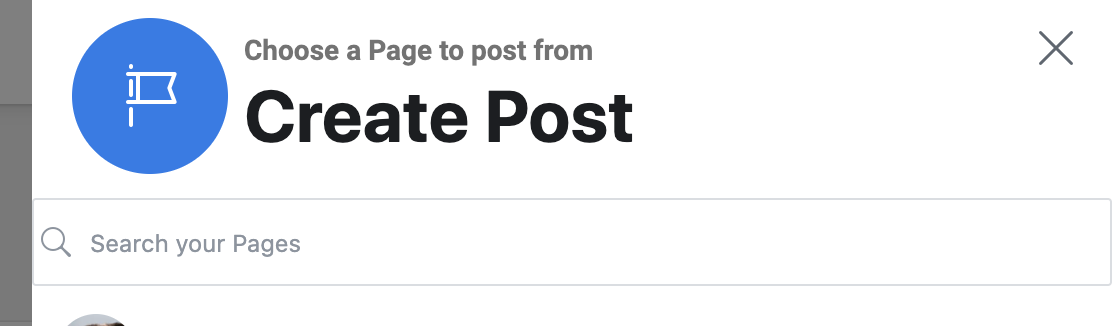
You will see a pop-up window on the right side and it will ask you to choose the Instagram account that you want to use.
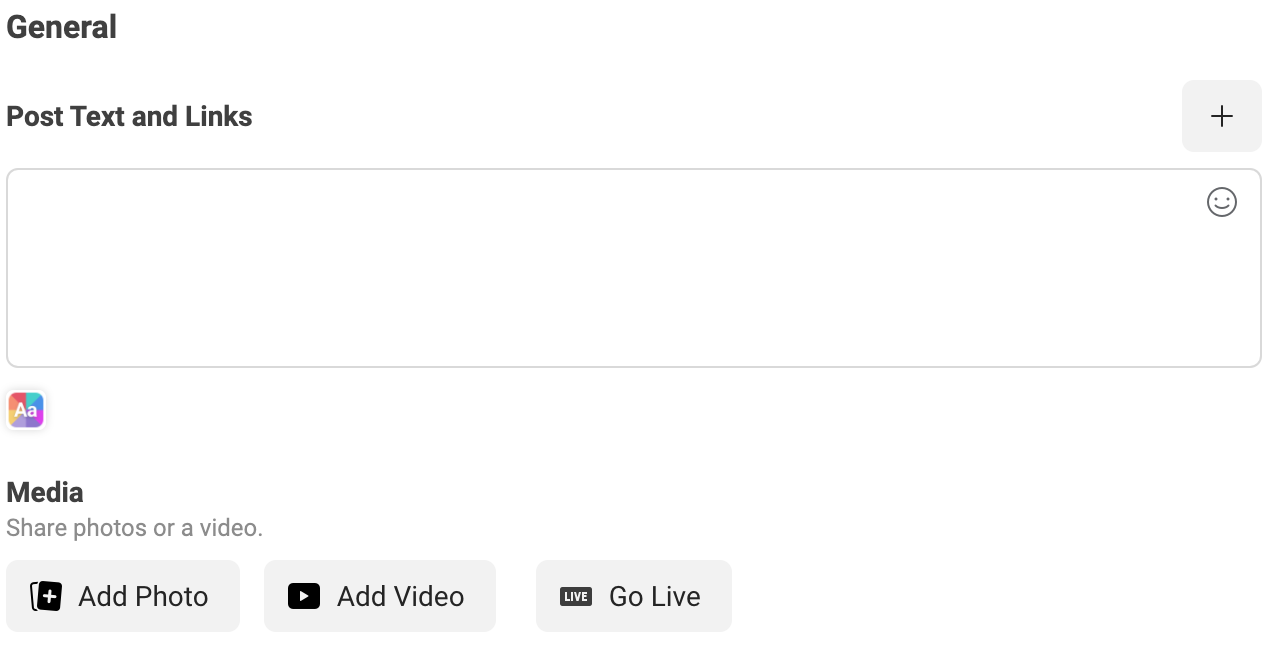
Next, the window will expand and you will be able to create your Instagram post. Now you can type in your caption, upload photo or video content, add location which will simultaneously post to your associated Facebook profile.
Remember that when writing your caption, the same formatting rules apply in Creator Studio as they do on Instagram, such as:
- Spaces are not allowed after the last character of a paragraph so you need to backspace to the last character.
- You cannot use an emoji as the last paragraph character.
Don’t use multiple special characters at the end of a paragraph (like OMG!!!). - Next, you should type in some hashtags in your caption. Another thing to know is that there is no option to create a comment on the post with the posting tool and if you want to include hashtags at the time of posting, you have to include them in the caption itself.
When you`ll enter your caption and hashtags, the counter that is beneath will remind you of how many remaining features you are left with.
In the next window, you’ll see the Add location tab where you’ll need to add the name of the location and you can choose from the recommendation that will appear to you.

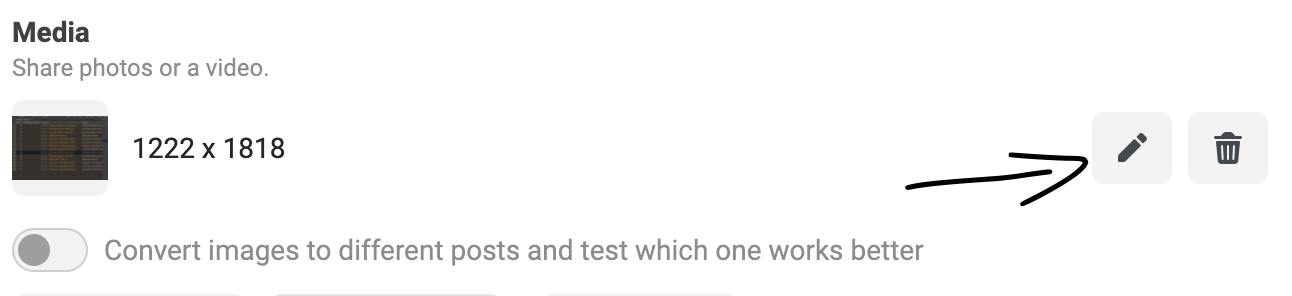
If you want to upload visual content, you need to click on the option Add Content which is below the Add Location box. You can choose to upload content from your FB page or your computer and you may upload up to 10 photos and videos into one carousel post.
The content files you have uploaded will go to default square crop and you will be able to edit the image place or change it from landscape to portrait mode or vice versa. In order to do so, you need to click on the three-dot button which is below the image and choose Crop from the menu.
In the Edit Photo window, you can customize your image with respect to size and dimensions anc click Save once you are done formatting.
On the other hand, video content must have a time duration between 3 and 60 seconds and remain in 4:5 or 16:9 formats. When you will be uploading your video file, you will notice a progress bubble in the bottom corner in the left side of the screen and it will turn green once it is fully uploaded. Then it is ready to be published.
Unfortunately, there are no options for video editing here and when you click on the three-dot button of a video file it will only allow you to delete it.
Now, once you have uploaded your content file, you’ll see the Publish button in the bottom corner on the right side of the screen. It will turn into a bright blue color and it means that it allows you to upload your post to Instagram.
Next, if you click on Publish which is in the right bottom of the page, your post will immediately upload to Instagram. However, next to the Publish button, you will see a drop-down arrow button and when you click on it, there will be an option to schedule your post.

How to schedule Instagram posts via Creator Studio?
If you want to schedule your Instagram post, you need to click on the Schedule feature and choose the time and date when you want to publish. Then just click on Schedule to upload your content file for posting at the time you picked.
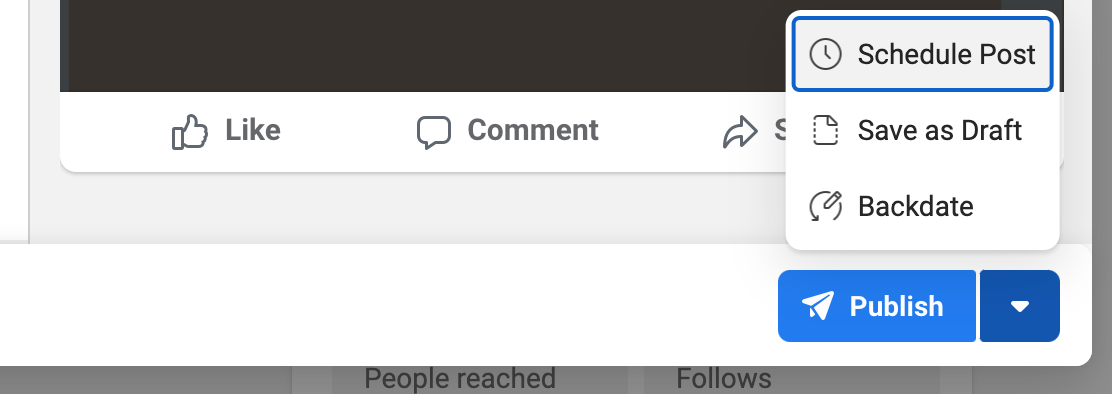
Voilà! Your Instagram post is now saved and scheduled for post and you’ll be able to see it in your Creator Studio Content Library.
Instagram finally allowed its users to upload images and videos to the platform via desktop. Check out how to post on Instagram via desktop without Creator Studio.